Ultimate Tutorial: Creating Effective Headlines Using Microsoft Excel
Ultimate Tutorial: Creating Effective Headlines Using Microsoft Excel
Quick Links
There are several ways to add a customized title to a spreadsheet in Microsoft Excel. Titles aren’t just for file names—you can place one right above your spreadsheet data so viewers can understand it more easily.
Adding a Header in Excel
To add a header title, click the “Insert” tab at the top left of the workbook.
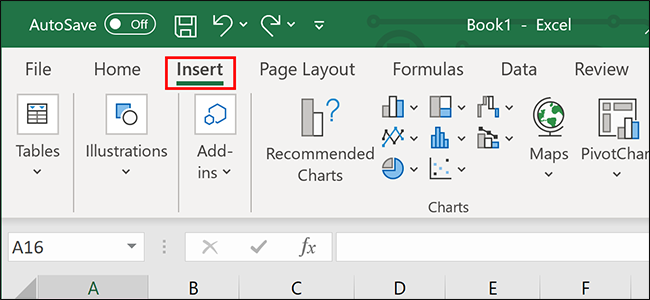
Click the “Text” menu toward at the right side of the ribbon and click the “Header & Footer” option.
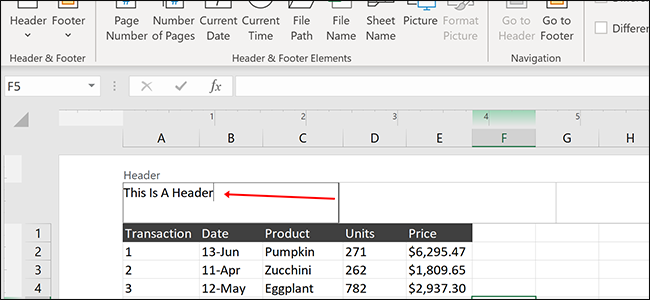
You’ll be zoomed out from the workbook, allowing you to see all of your data on one page. We’ll cover how to get back to the normal view in a moment.

Click anywhere within the “Header” section and type in your text.
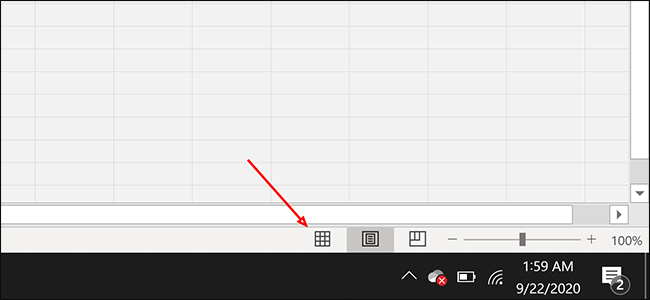
To return to the default workbook view, click the “Normal” page layout icon at the bottom of the document.
When you return to the “Normal” workbook view, you’ll notice that your text doesn’t appear. In Excel, these headers don’t appear while you’re working in the workbook, but they will appear once it’s printed. If you’re looking for a title line that always appears, keep reading.
Adding an Always-Visible Top Row
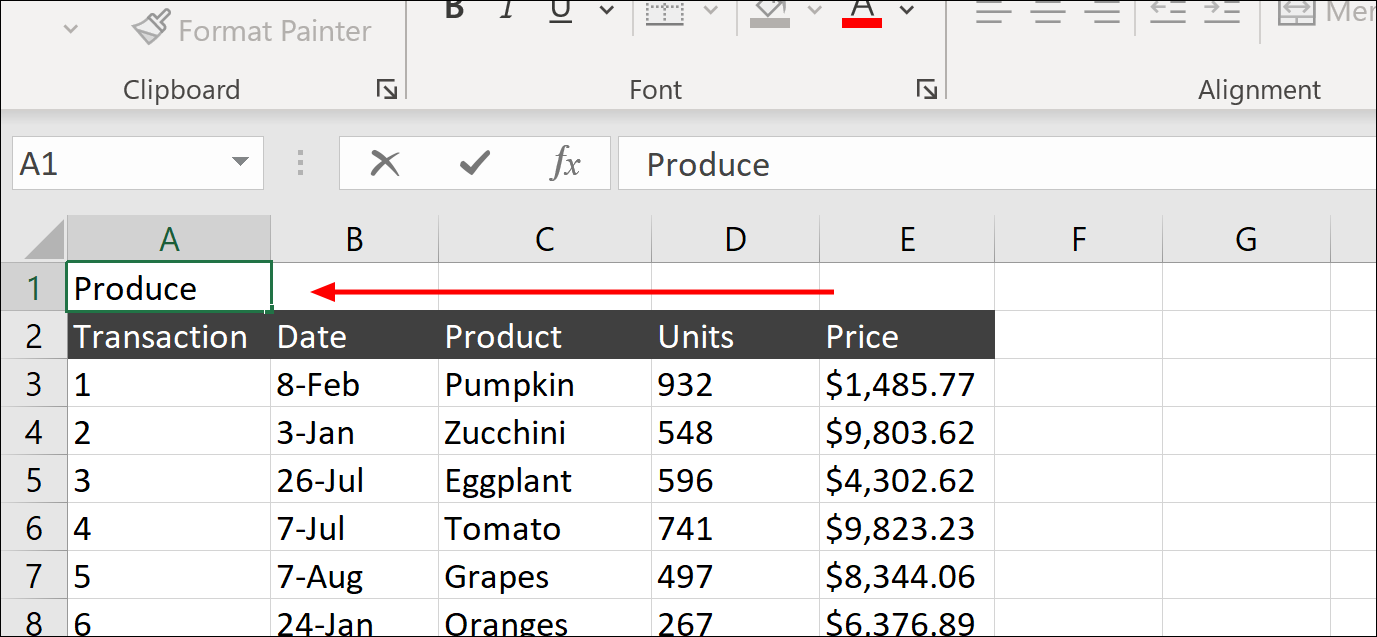
To add an always-visible title, you can place it in the top row of your spreadsheet.
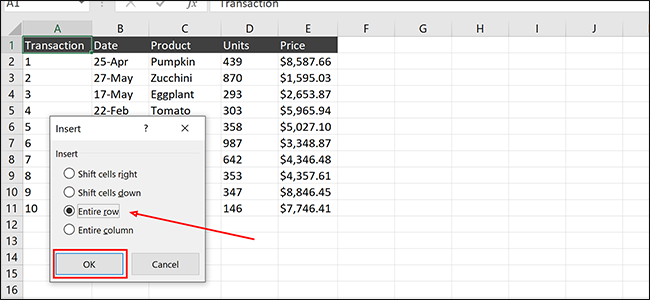
First, right-click anywhere inside cell A1 (the first cell at the top left of your spreadsheet), and choose “Insert.”
Select “Entire Row” and click “OK” to add a row of free space.
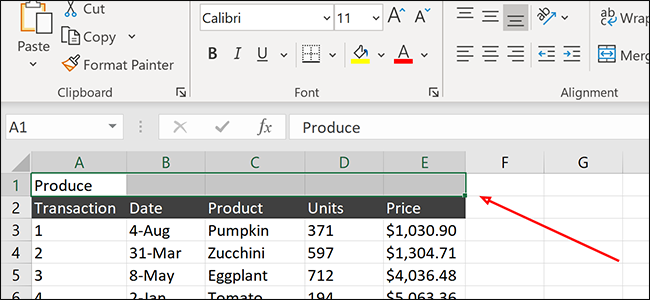
Type the title for the spreadsheet anywhere in the new row. The exact cell you choose doesn’t matter, as we’ll be merging them in just a second.
Highlight the section of your new row that you want to center your title in. In this case, we’ll highlight from A1 to E1, centering our title within the top row.
Click the “Home” header in the ribbon and click “Merge & Center.” Your text should now be centered within the new row.
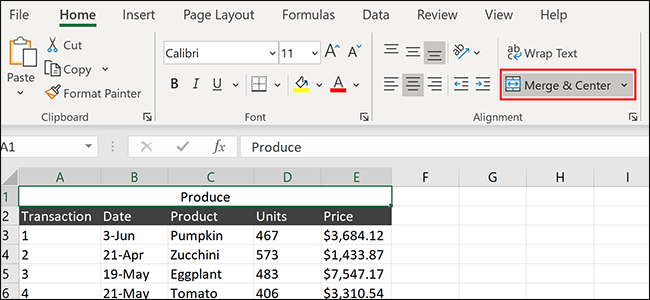
That’s it—you can use these techniques to quickly add headers to your Excel spreadsheets in the future.
Also read:
- [New] 2024 Approved Enhance Click-Through Rates with Good Thumbnails
- [New] 2024 Approved Unlock Creative Potential Top Methods for Green Screen Filming
- [New] Accelerating Livestreams on Periscope Made Easy
- [SOLVED] iTunes Not Recognizing iPhone on Windows 10
- 2024 Approved Browse Backwards A Guide to Facebook Archives
- Cyberpunk 2077 & Windows 10: Troubleshooting the Game's Ignored GPU Issue
- Easy Fixes to Correct Your Discord Installation Errors Quickly and Effectively
- Fortnite LS-0013 Startup Issue Resolved: Troubleshooting Steps
- Getting Your Armored Core VI Launcher Up and Running Smoothly Again
- How to Send and Fake Live Location on Facebook Messenger Of your Honor 90 GT | Dr.fone
- How We Addressed Cod Black Ops IV Latency and Frame Rate Fluctuations Successfully
- In 2024, Getting Started A Primer on Screencastify Use
- Step-by-Step Guide: Mastering Incremental & Differential Backups on Windows 11
- Top 7 Phone Number Locators To Track Oppo A1x 5G Location | Dr.fone
- Troubleshooting Red Dead Redemption 2: Solving Persistent FPS Drops & Freezing Problems
- Unveiling Future Possibnilities: Will There Be a GPT-5 Version Soon?
- Title: Ultimate Tutorial: Creating Effective Headlines Using Microsoft Excel
- Author: Daniel
- Created at : 2024-12-03 16:04:35
- Updated at : 2024-12-06 18:05:40
- Link: https://win-answers.techidaily.com/ultimate-tutorial-creating-effective-headlines-using-microsoft-excel/
- License: This work is licensed under CC BY-NC-SA 4.0.