
Mastering Picture Cropping Techniques in Microsoft Office 2010 Programs
Mastering Picture Cropping Techniques in Microsoft Office 2010 Programs
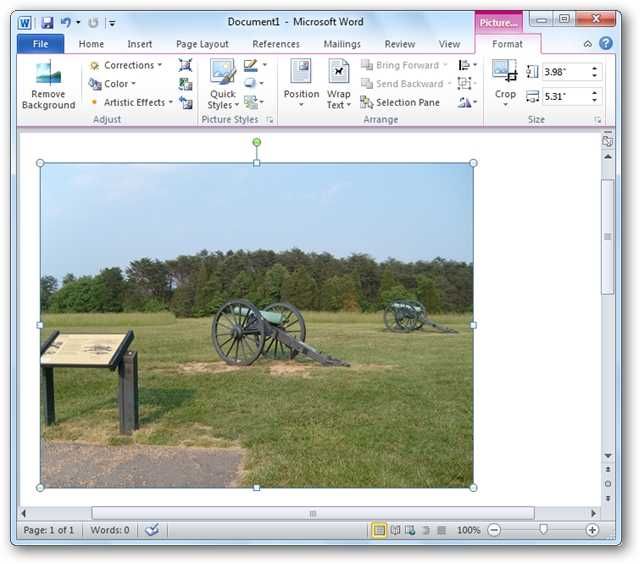
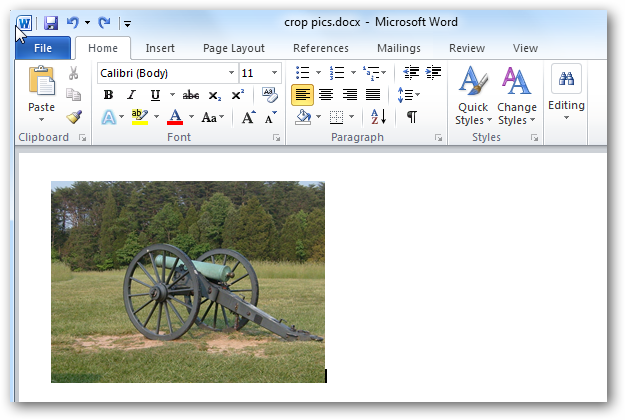
When you add pictures to your Office documents you might need to crop them to remove unwanted areas, or isolate a specific part. Today we’ll take a look at how to crop images in Office 2010. Note: We will show you examples in Word, but you can crop images in Word, Excel, and PowerPoint. To insert a picture into your Office document, click the Picture button on the Insert tab. The Picture Tools format ribbon should now be active. If not, click on the image.
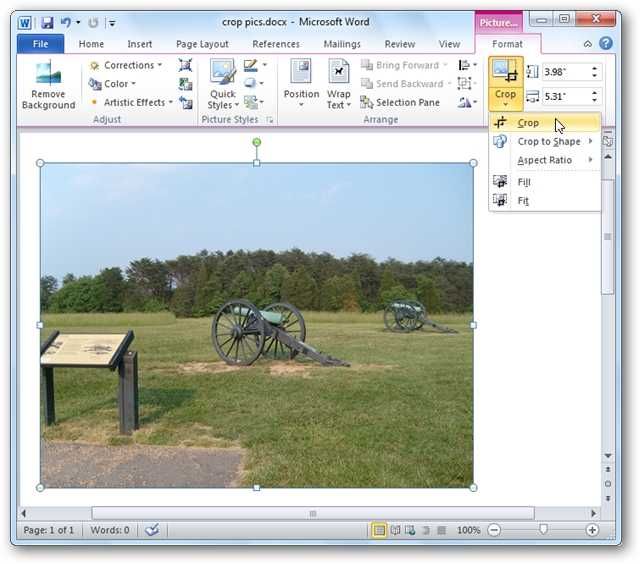
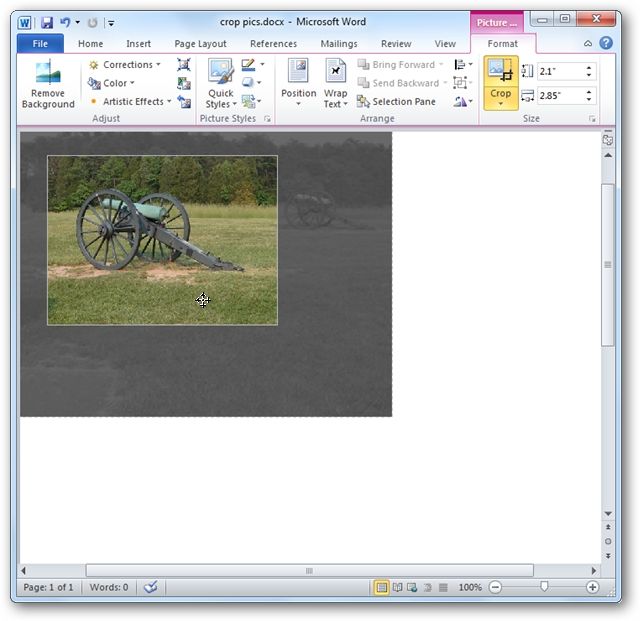
New in Office 2010 is the ability to see the area of the photo that you are keeping in addition to what will be cropped out. On the Format tab, click Crop.
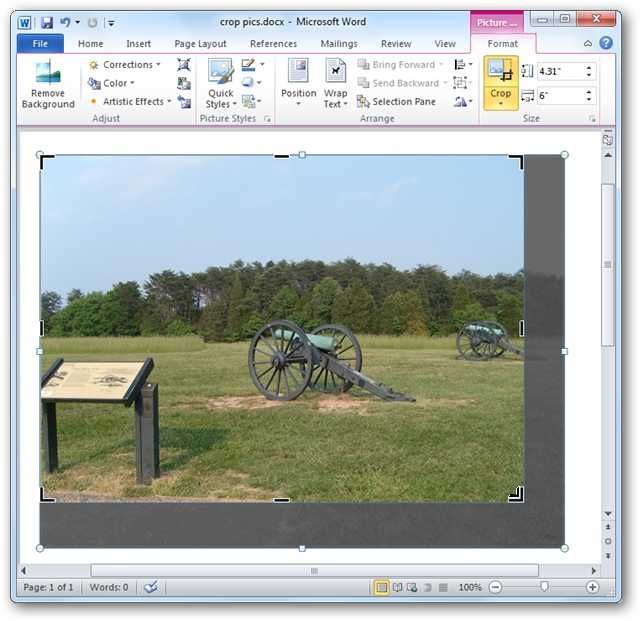
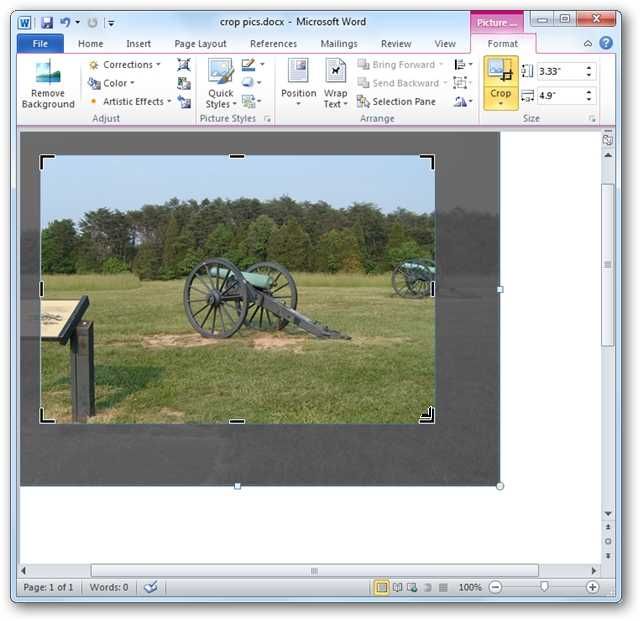
Click and drag inward any of the four corners to crop from any one side. Notice you can still see the area to be cropped out is show in translucent gray.
Press and hold the CTRL key while you drag a corner cropping handle inward to crop equally on all four sides.
To crop equally on right and left or the top and bottom, press and hold down the CTRL key while you drag the center cropping handle on either side inward.

You can further adjust the cropping area by clicking and dragging the picture behind the cropping area.
To accept the current dimensions and crop the photo, press escape or click anywhere outside the cropping area.
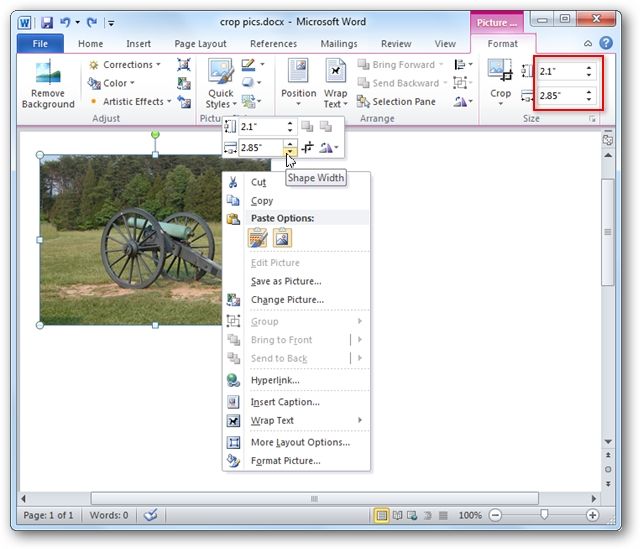
You can manually crop the image to exact dimensions. This can be done by right clicking on the image and entering the dimensions in the Width and Height boxes, or in the Size group on the Format tab.
Crop to a Shape Select your photo and click Crop from the Size group on the Format tab. Select Crop to Shape and choose any of the available shapes.

You photo will be cropped into that shape.

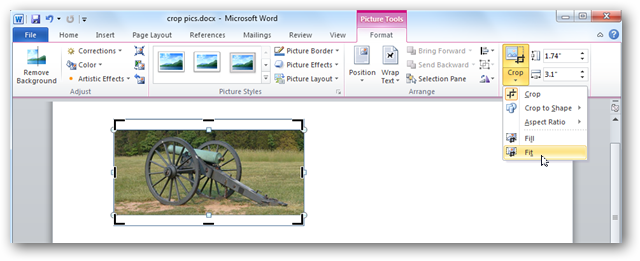
Using Fit and Fill If you wish to crop a photo but fill the shape, select Fill. When you choose this option, some edges of the picture might not display but the original picture aspect ratio is maintained.
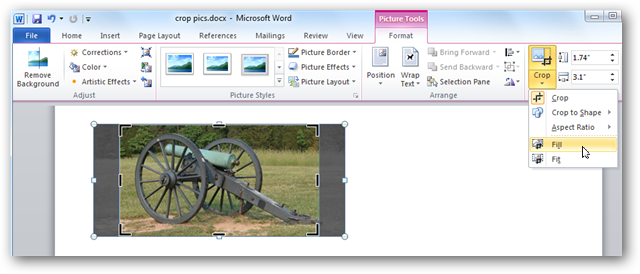
If you wish to have all of the picture fit within a shape, choose Fit. The original picture aspect ratio will be maintained.
Conclusion Users moving from previous versions of Microsoft Office are sure to appreciate the improved cropping abilities in Office 2010, especially the ability to see what will and won’t be kept when you crop a photo.
Also read:
- [New] 2024 Approved Top 10 Instagram Insights Tools Detailed Data Analysis Made Simple
- [New] In 2024, Troubleshooting OBS Full Screen Malfunction
- [Updated] Maximizing Exposure Submitting to Apple
- 7 Ways to Unlock a Locked Samsung Galaxy A54 5G Phone
- Effortless Solutions to Prevent Deathloop From Crashing While Playing on Windows
- Enabling Advanced System Configuration: Using gpedit.msc on Windows Home Versions
- Enhance Your Gaming: No More Crashes in Tormented Souls on Windows
- Facebook Video Layouts Vertical or Horizontal for 2024
- Hearthstone Stability Issues? Here's How You Can Stop Your PC From Crashing
- No More Freezes: A Comprehensive Solution for Resident Evil Village PC Issues
- Put and play MKV movies on Galaxy A05s
- Resolve BlueStacks Issues with These Simple Fixes - In Just Five Minutes!
- Resolving the 'Ping Not Received From Microsoft Servers' Issue on Halo Infinite Game
- SteamUI DLL Missing - Resolved: Overcoming 'Fatal Error' In Steam
- Stop War Thunder From Crashing : Essential Troubleshooting Steps
- The Sound Savant's Playbook for Efficient Audible Records for 2024
- Unveiling Secrets to Overcome Black Screens on Your Android Phone: Practical Fixes for Common Issues
- Title: Mastering Picture Cropping Techniques in Microsoft Office 2010 Programs
- Author: Daniel
- Created at : 2024-12-03 16:29:55
- Updated at : 2024-12-06 16:21:28
- Link: https://win-answers.techidaily.com/mastering-picture-cropping-techniques-in-microsoft-office-2010-programs/
- License: This work is licensed under CC BY-NC-SA 4.0.